Our Designs take form.
Once we receive our hi-reliability, double sided, plated thru hole PCBs, and our beautiful CNC machined, black powered coated chassis with heat cured screen printing from our quality Australian manufactures and all our imported electronic parts from the US, its time a assemble these babies!
We have coordinated off different areas of the workshop, completely dedicating them to the assembly of different sections of our amplifiers. |
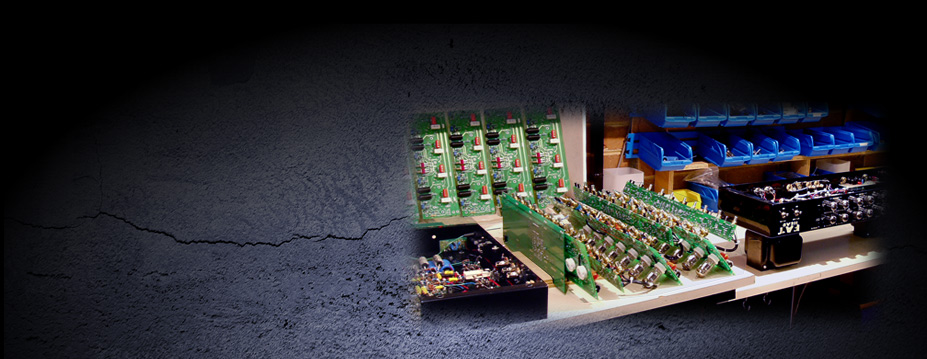
PCB Assembly.
Before assembly each and every PCBs is inspect for faults. If all is Ok, we then start populating the PCBs with the various components like resistors, capacitors, pots etc. To ensure a quality build, the boards are assembled by hand. Once assembled they are hand soldered and inspected again, this time for bad solder joints. The completed boards are then placed in our test rig and check for correct operation under actual operating conditions. Any problems are corrected at this stage before the boards are installed into there chassis. |
 |
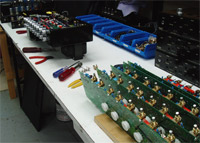
Point to Point wired amps.
We do most of the assembly of these amps out side the chassis using specially designed jigs to assemble the various sections of the amplifiers by hand. Once completed, the various sub-assemblies are then inserted into the chassis and wired up. We find this technique faster and more efficient than assembling one amplifier at a time from scratch.
|
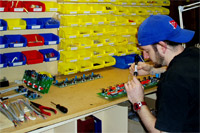
Chassis Assembly & Amplifier Testing
In another area, we inspect and prepare our chassis for there assembly. Switches, sockets, transformer, etc are all mounted on the chassis. After this is completed the PCB' are installed and all internal wiring is performed. The chassis is again thoroughly inspected for incorrect wiring etc.and then neatly loomed to complete the assembly. The amplifier is now ready for its final bench test on our special test equipment. Power is applied and all AC and DC voltages are check.
If all is ok our pre-selected tubes are installed and the bias is set on the power tubes. A test signal is then applied and the output monitored for power, noise and other performance parameters.
|
 |
Audio Test and soak.
When the amplifier passes all bench performance checks, its time to plug in a guitar and speaker and test it audibly.
Tubes are usually swapped around or substitute for maximum power, lowest noise and best tone. The the amplifier is then soak tested for many hours ensuring there are no future problems like tube failures etc. This ensures the amp sounds its best when it leaves the workshop. |
Timber Cabinet Assembly.
We make all our cabinets in house using our specially designed panel cutting and routing machines.
Once the individual panels are cut and routed, they are then inspected. Any flawed panels are discarded. The panels are then assembled by hand in special jigs to ensure the cabinet will be square. Any minor imperfections in the cabinets surface are filled and sanded smooth. They are then given an overall final sanding. Painting the inside of the cabinet completes the assembly. |
Tolex covering area.
And the final area which completes the manufacturing process is the Tolex/vinyl covering area. This is were we Tolex our speaker and amp cabinets, staple on grill cloths and fit cabinet hardware and speakers. |
| |